Instructions
Here are the steps to take the AT&T U-Verse Pace 5168NV DSL Modem you just bought and get it working on Sonic.net VDSL2 internet service.
- Download the sonic.net firmware for the Pace 5168NV
- Plug your computer into one of the four yellow ethernet ports on the modem and power up the modem
- Once you get served an IP address in the 192.168.1.0 network browse to http://192.168.1.254/upgrade
- Click
Upgrade - Enter the password. This can be found on the label on the modem listed as
Device Access Code. This is different from theWi-Fi Password - Click Choose File and select the
pace-5168-10.1.3.500036_reinstall_signed.pkgstreamyou downloaded above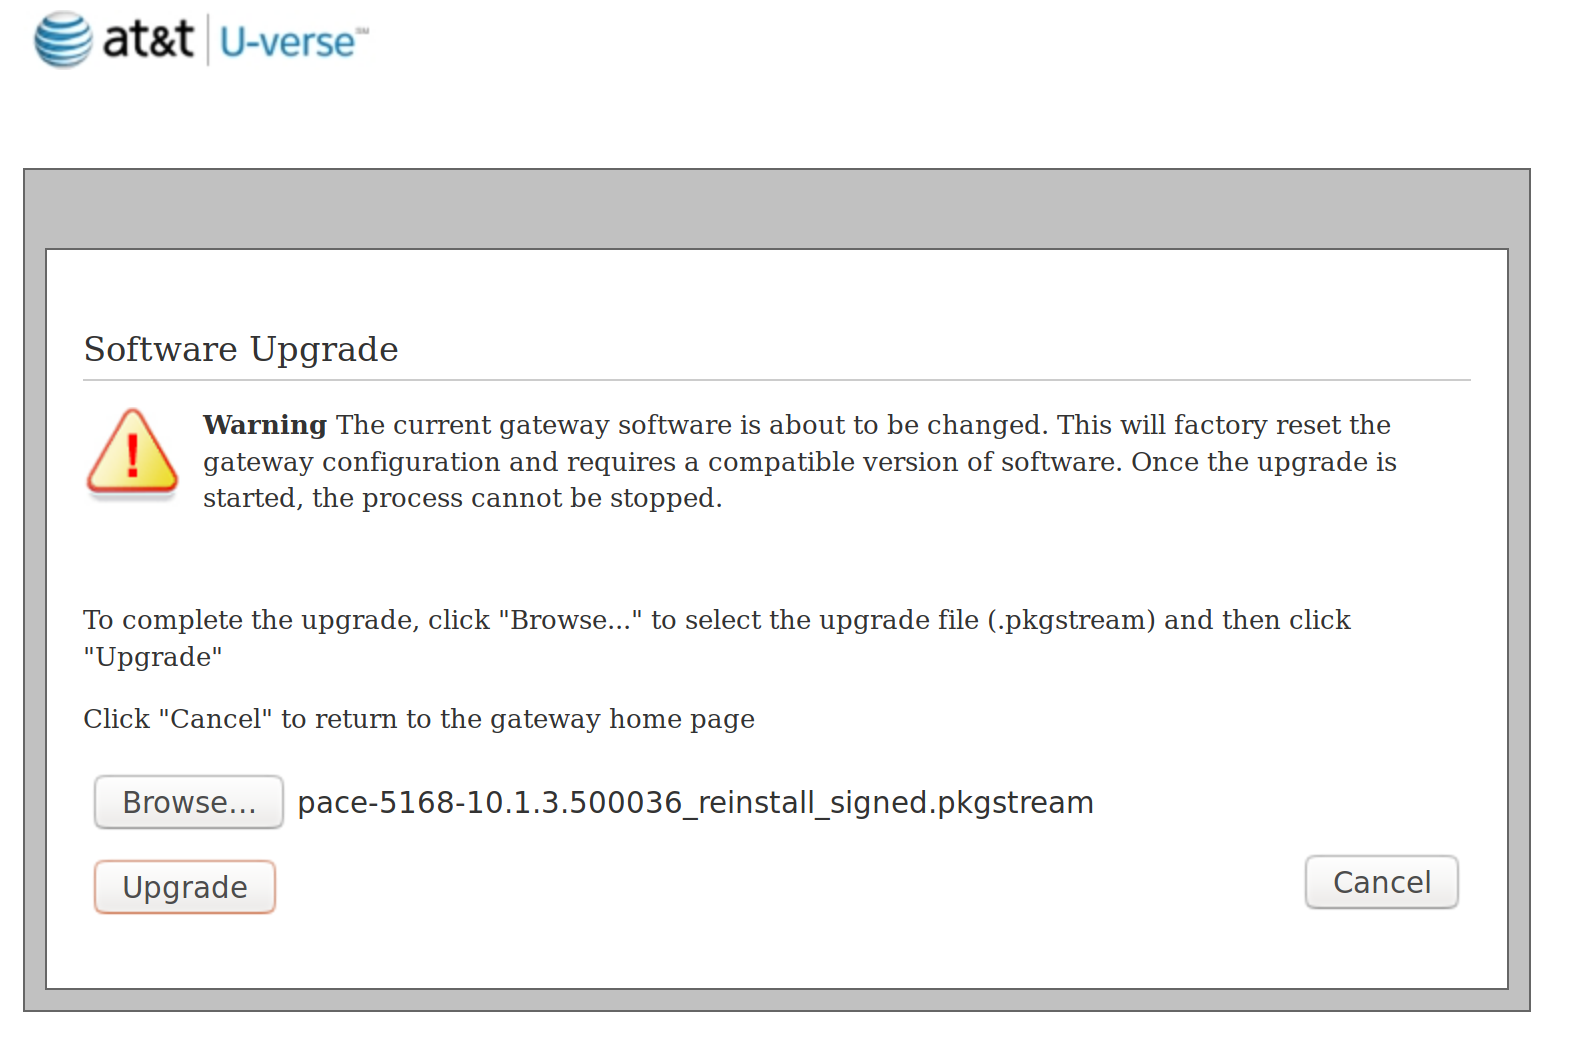
- Click
Upgrade.Wait for approximately 5 minutes while the modem installs the patch and reboots.
- When the power light goes back to solid green and your DSL/Internet lights come back on, you are ready. You can also tell that the upgrade is complete when your network connection drops then comes back up and you'll get a new IP in the 192.168.42.0 network
Optional additional steps
- In my case since I have my own router and don't want to use the router built into the modem first I go to
Settings...Broadband...Link Configurationscroll to the bottom and uncheckRouting, then clickSave. The password is still the same. When I do this the page then shows and error but it accepts the settings change, not sure why this is. - Next I go to
Settings...LAN...DHCPand uncheckDHCP Server Enabledtheh clickSave. This time I get a greenConfiguration Successfulresponse - Since I've set the modem to
Bridgedmode by disablingRoutingI don't need to disable the Firewall inSettings...Firewallas it's not in play - Because I have my own wireless access point I then go to
Settings...LAN...Wirelessand uncheckEnable Wireless Interfacethen lickSave, just above where it saysWireless Channel
Links
- Original instructions by Matt Voss. A big thanks to Matt as well for hanging on to the firmware and sharing it with me in 2016
- Ebay search for 5168NV
- Pace 5168NV Manual